How to Create a Self-Hosted LLM with Ollama Web UI
March 10, 2024
How to Create a Self-Hosted LLM with Ollama Web UI
In today’s digital age, the power of large language models (LLMs) is undeniable. Whether for personal projects, research endeavors, or simply for fun, having access to LLMs can greatly enhance your productivity and creativity. However, what if you could take your LLM with you wherever you go, accessing it seamlessly from any device with an internet connection? Enter Ollama Web UI, a revolutionary tool that allows you to do just that. In this article, we’ll guide you through the steps to set up and use your self-hosted LLM with Ollama Web UI, unlocking a world of possibilities for remote access and collaboration.
Prerequisites
- Availability of Ollama (Refer to this if you don’t have Ollama installed → https://medium.com/@sumudithalanz/unlocking-the-power-of-large-language-models-a-guide-to-customization-with-ollama-6c0da1e756d9)
- Docker (https://www.docker.com/get-started/)
- Ollama Web UI (https://github.com/open-webui/open-webui)
- ngrok (https://ngrok.com/download)
To use your self-hosted LLM (Large Language Model) anywhere with Ollama Web UI, follow these step-by-step instructions:
Step 1 → Ollama Status Check
- Ensure you have Ollama (AI Model Archives) up and running on your local machine. You can confirm this by navigating to localhost:11434 in your web browser.

Step 2 → Install Docker
- Install Docker on your computer. Docker allows you to run predefined images inside containers, which are self-contained apps that can run anywhere. (https://docs.docker.com/engine/install/)
Step 3 → Download Ollama Web UI
- Use Docker in the command line to download and run the Ollama Web UI tool. Paste the following command into your terminal:
docker run -d \
-p 3000:8080 \
--add-host=host.docker.internal:host-gateway \
-v ollama-webui:/app/backend/data \
--name ollama-webui \
--restart always \
ghcr.io/ollama-webui/ollama-webui:main
Let’s break down the command:
- docker run: Creates and runs a new container.
- -d: Shorthand for detach, meaning the process will run in the background.
- -p 3000:8080: Maps port 3000 on your host to port 8080 inside the Docker container.
- --add-host=host.docker.internal:host-gateway: Allows the container to access services running on your host machine.
- -v ollama-webui:/app/backend/data: Creates a volume named "ollama-webui" for persisting data between sessions.
- --name ollama-webui : Docker makes you name your containers using the name parameter.
- --restart always : Restart the container if anything goes wrong.
- ghcr.io/ollama-webui/ollama-webui:main: Specifies the image to download (main branch of Ollama Web UI).
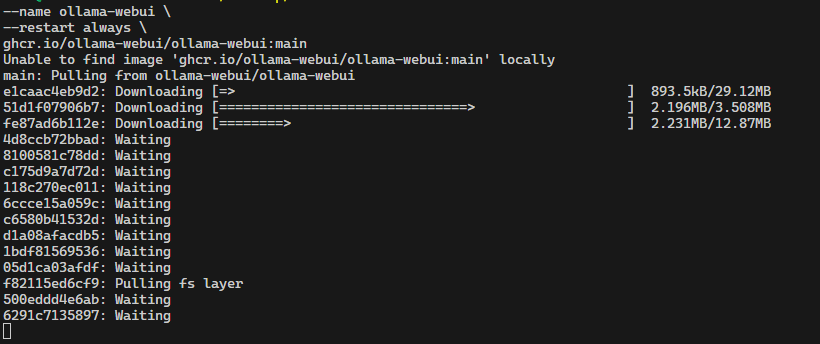
Step 4 → Confirm Ollama Web UI Container
- Run docker ps to confirm that the Ollama Web UI container is running successfully.

Step 5 → Access Ollama Web UI
- Open your web browser and navigate to localhost:3000. This should display the Ollama Web UI interface.
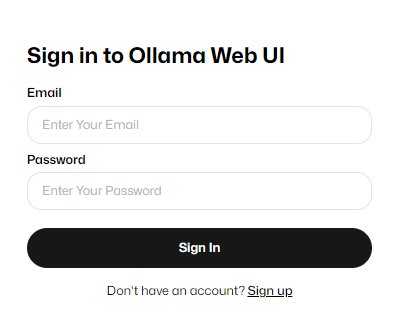
- Since this is our first time using Ollama Web UI, we can use the Sign Up option create our account.
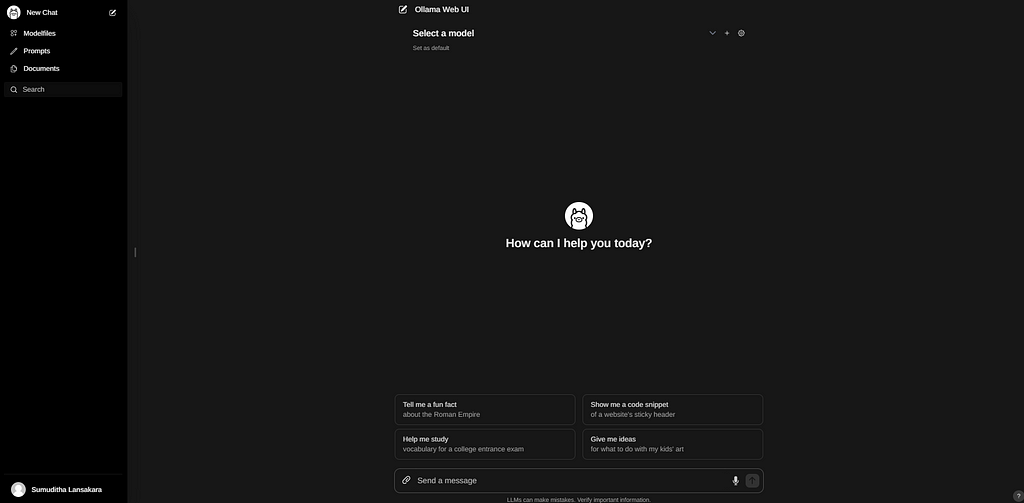
- Ollama gives access to huge number of models that we have. Currently I only have ‘phi’ model only.(To learn how to install and run a model locally, refer this article → https://medium.com/@sumudithalanz/unlocking-the-power-of-large-language-models-a-guide-to-customization-with-ollama-6c0da1e756d9)

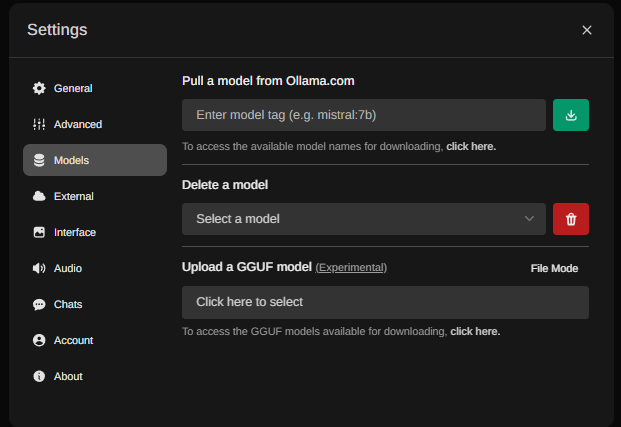
- Else you can use the `Settings → Models` to download and installed models directly.
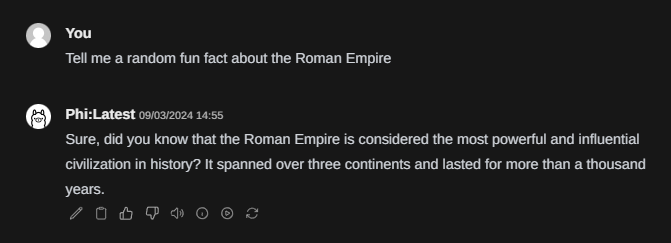
- We can give an input as a file or an image and a voice as well.

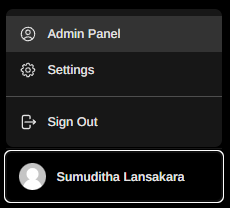
- Using the admin panel, you can even manage the users in the chat.
Step 6 → Set Up ngrok
- Sign up for an account on ngrok’s website if you haven’t already.
- Download and install the ngrok utility on your computer.
Step 7 → Configure ngrok
- Use the ngrok utility to configure your ngrok instance on your host machine. You’ll need to add the authentication key provided by ngrok.
Step 8 → Forward Port with ngrok
- Use the ngrok command provided to forward port 3000 (or the port you specified earlier) to a URL hosted by ngrok. ngrok http http://localhost:3000

Step 9 → Access Ollama Web UI Remotely
- Copy the URL provided by ngrok (forwarding url), which now hosts your Ollama Web UI application.
- Paste the URL into the browser of your mobile device or any other device with internet access.
Step 10 → Interact with Ollama Web UI
- Log in using the credentials you set up earlier (or create a new account if necessary).
- You can now interact with your self-hosted LLM through Ollama Web UI from anywhere with an internet connection.
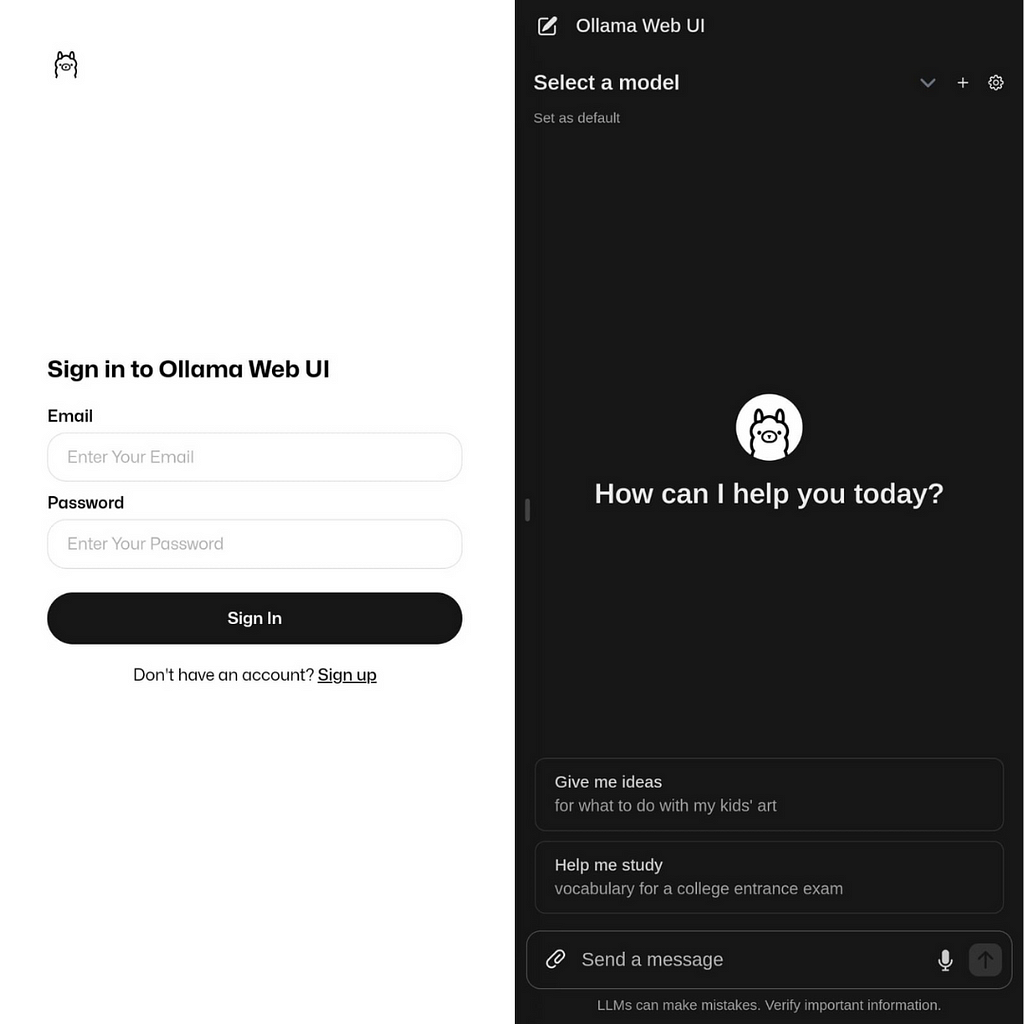
Remember to keep the ngrok instance running on your host machine whenever you want to access the Ollama Web UI remotely or you can host it using a cloud provider. Enjoy using your self-hosted LLM on the go!
Also dont forget to check my personal website: laxnz.me