How to Deploy a Simple React App on AWS Amplify
May 25, 2024
What is AWS Amplify ?
Traditionally, building a full-stack application involves setting up multiple services such as frontend, backend, authentication, database, storage, etc. AWS Amplify streamlines this process by allowing developers to focus on building their application logic without worrying about the underlying infrastructure complexities of AWS.
Benefits
- Simplifies full-stack development by abstracting away infrastructure complexities.
- Enables rapid prototyping and development of applications.
- Offers a streamlined workflow for both frontend and backend development.
- Provides a visual interface (Amplify Studio) for advanced users.
Deploying a React App on AWS Amplify
Create a React App
I will be creating a react app to this tutorial. You can use your existing react project for this.
- Open your terminal or command prompt.
- Navigate to the directory where you want to create your React app.
- Run the command npx create-react-app .. This command initializes a new React project in the current directory.


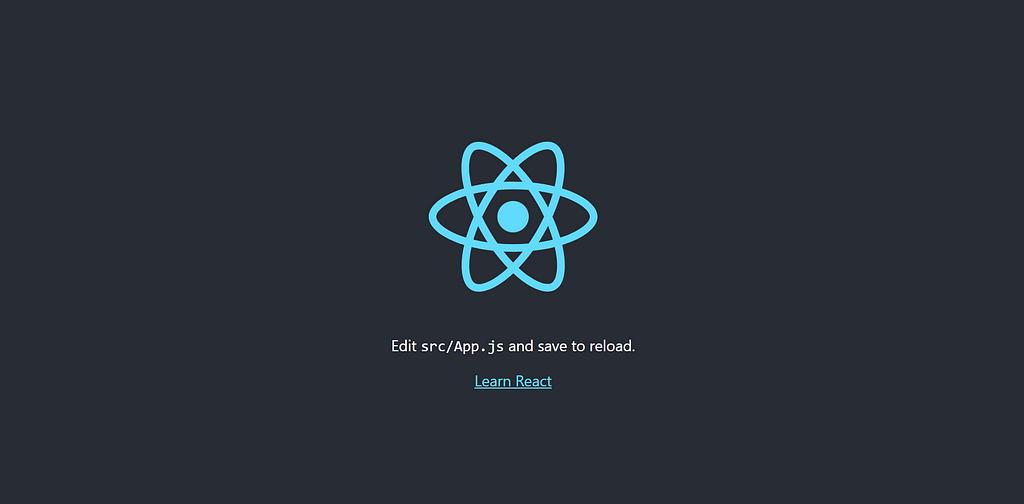
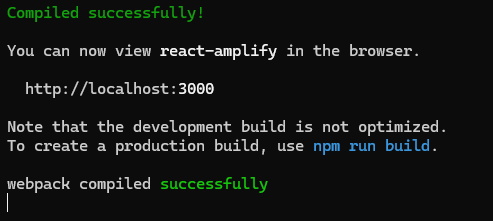
- To run this react app use npm start command.
Set Up GitHub Repository
- Go to GitHub and sign in to your account.
- Click on the “+” icon in the top-right corner and select “New repository.”
- Give your repository a name and optional description.
- Click “Create repository.”
- In your terminal, navigate to your React app directory.
- Run the following commands:
git remote add origin_new <repository_URL>
git branch -M main
git push -u origin main
Replace <repository_URL> with the URL of your newly created GitHub repository.
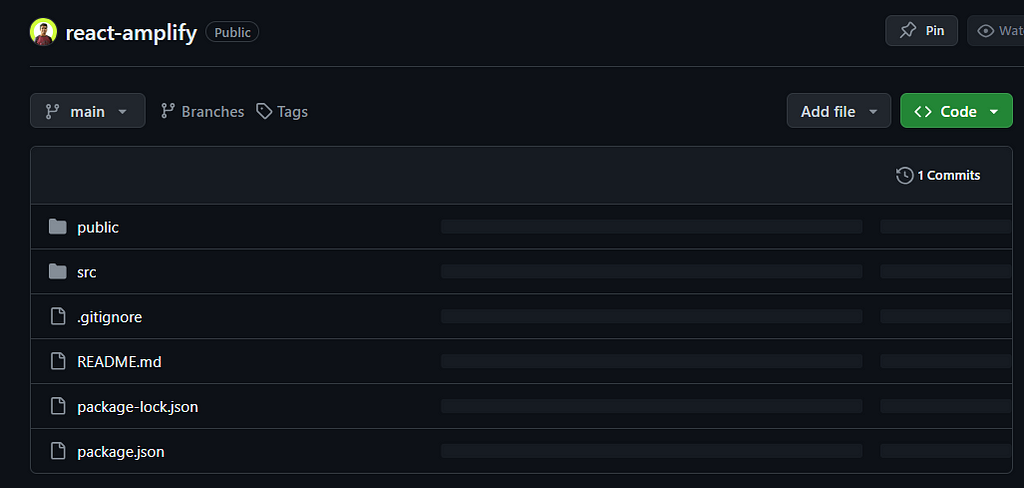
- After that you can check your repository to check your code is there or not.
Starting with AWS Amplify
- Go to the AWS Management Console and sign in to your AWS account.
- Navigate to the AWS Amplify console.

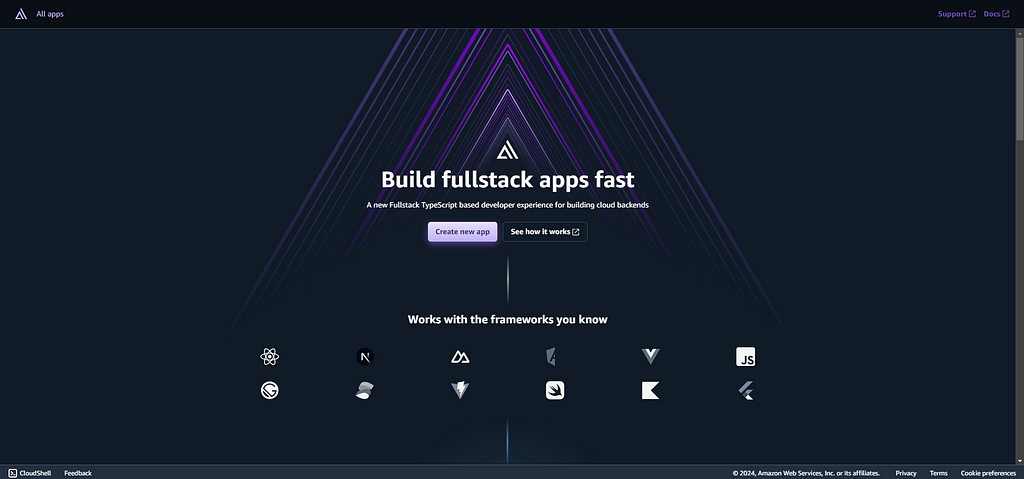
- Click on ‘Create new app’
- Pick ‘GitHub’ (select your git provider accordingly), and click ‘Next’.
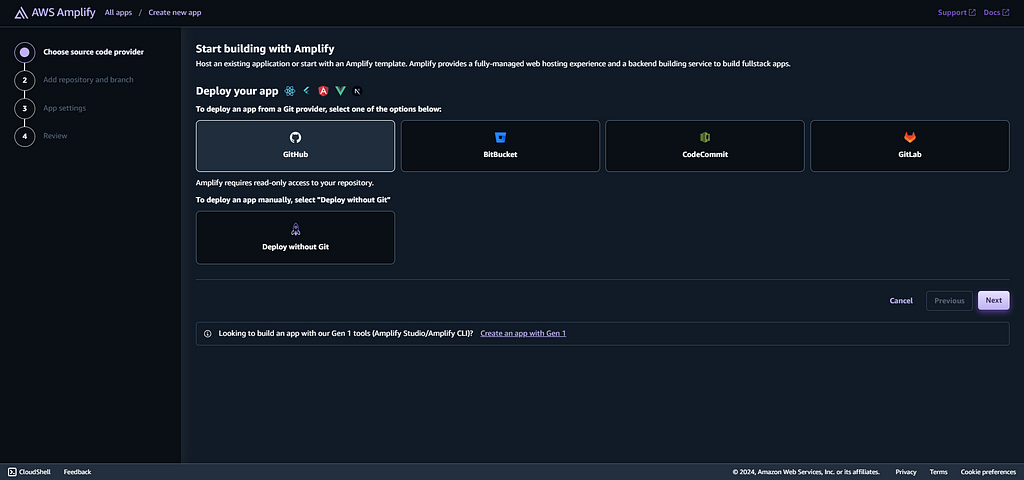
- After you giving access AWS Amplify service to GitHub, you can simply select your repository from the dropdown menu.
- Select the branch (since i change master branch into main, i go with the main branch) and hit ‘Enter’.

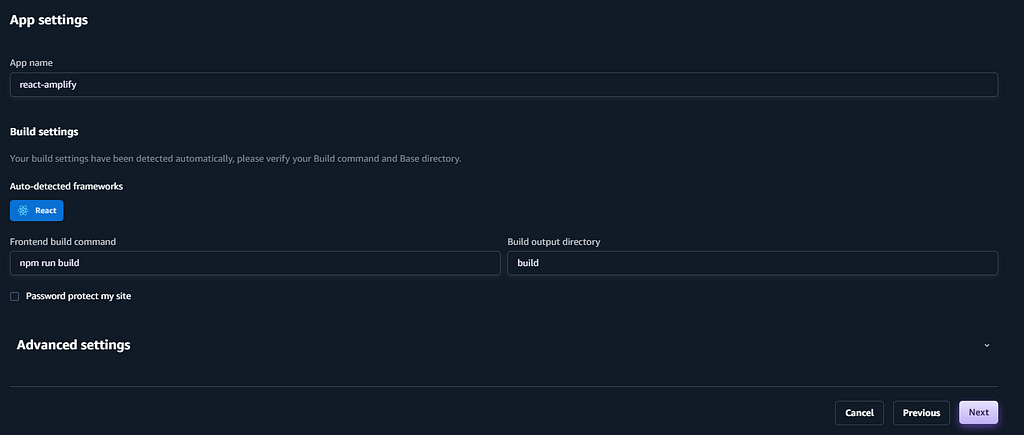
- Then give your build settings.
- Your final review should look like this.
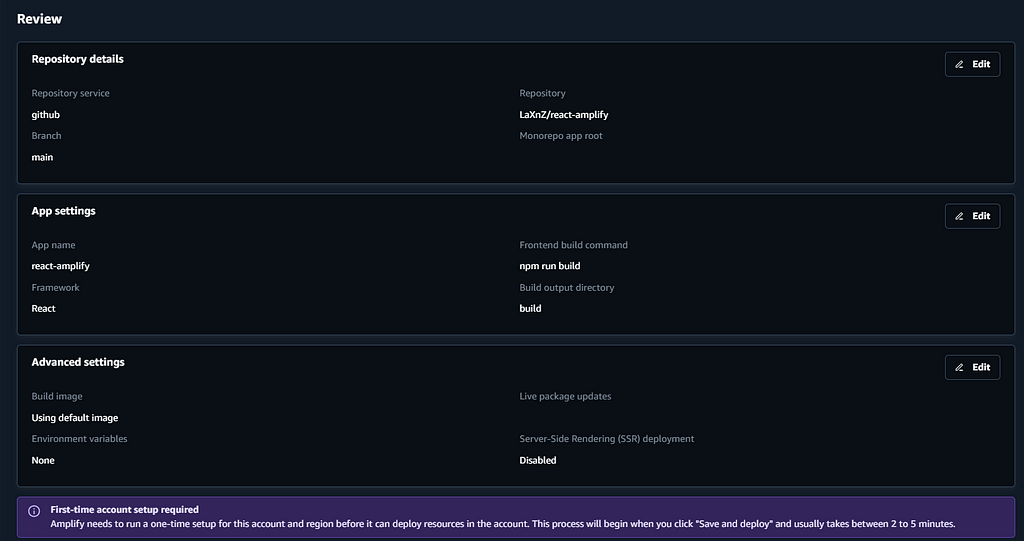
- Then click on ‘Save and Deploy’.

Check Deployment Status
- Now you can monitor your deployment using the AWS Amplify.
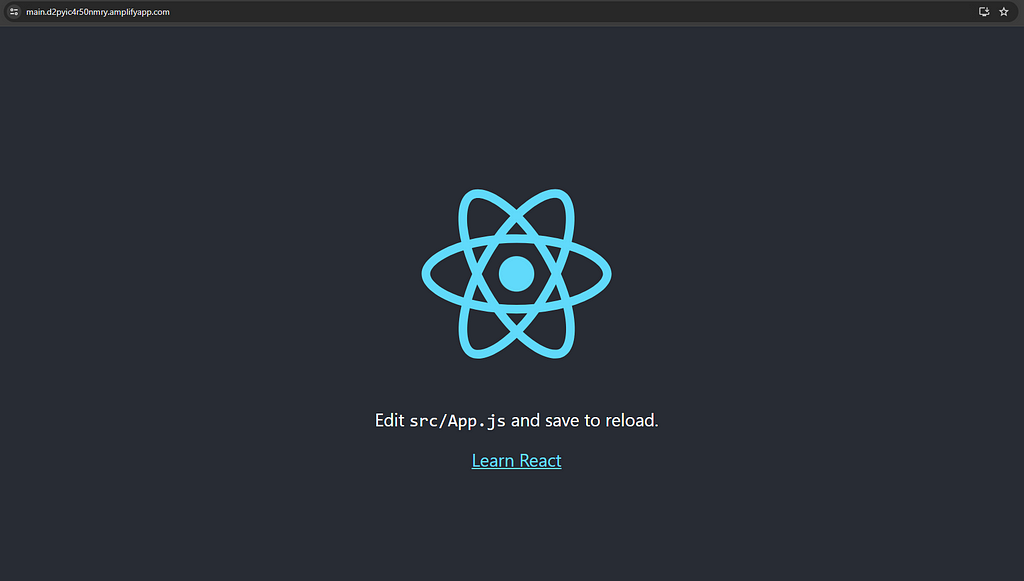
- After you are done with the deployment, you can see the dashboard like this. Once the deployment is successful, AWS Amplify will provide a domain URL where your React app is hosted.

- Click on ‘View deployed URL’ to view your hosted react app.
Test Continuous Deployment
- Make a small change to your React app code (e.g., modify a component or update some text. i will change ‘Learn React’ on App.js to ‘React Amplify’).
- Commit the changes to your repository and push them to the branch being watched by AWS Amplify (e.g., “main”).
git add .
git commit -m "testing"
git push
- AWS Amplify will automatically detect the changes, trigger a new build, and redeploy the updated version of your app.
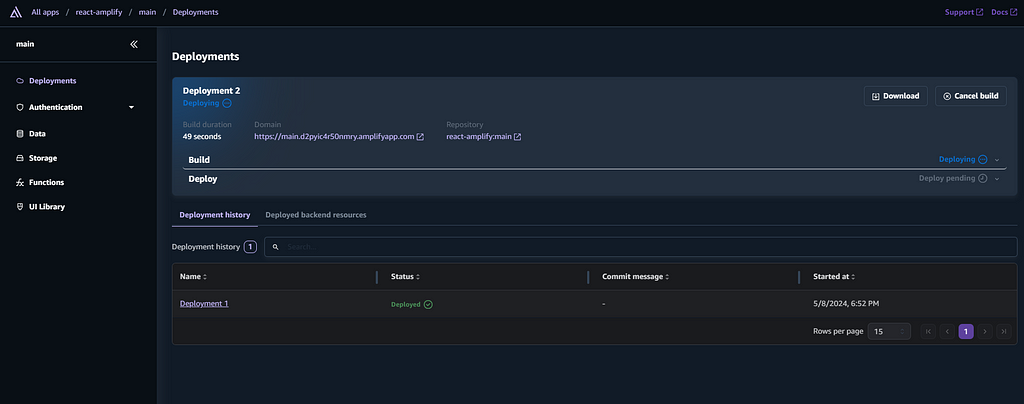
- In the above screenshot you can see, amplify working on the Deployment 2 after the new changes in code.
- After done with that second building, u can simply go to the hosted URL and check your app.

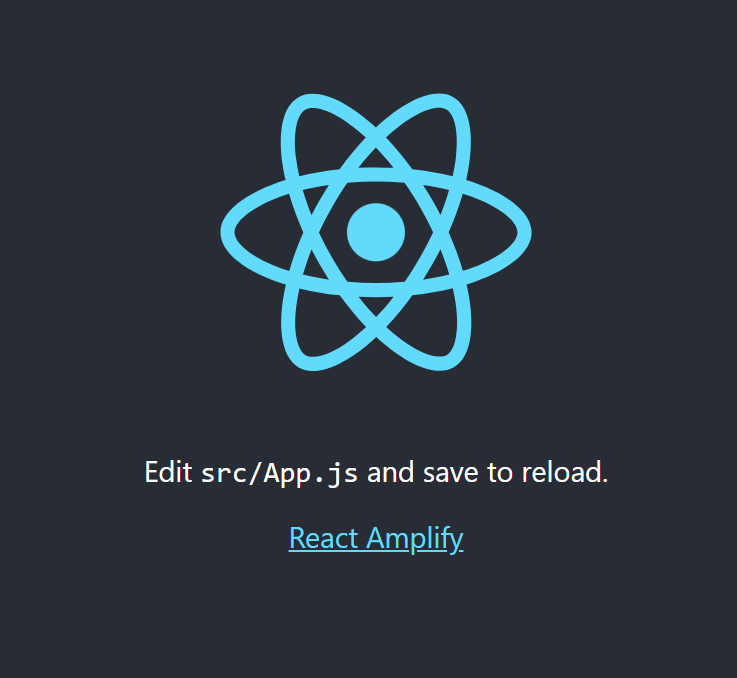
- You can see the changes in above screenshot.
Remember, this guide covers only the bit basics of AWS Amplify. I encourage you to explore further to unlock its full potential.